Showing posts with label cookies. Show all posts

Monday, December 4, 2017

Buttercreams

Easy homemade candy recipe! These buttercream candies are simple to make with powdered sugar, butter and cream cheese.


Ingredients

FILLING

1/2 cup Land O Lakes® Butter softened
3 ounces cream cheese, softened
1 1/2 teaspoons vanilla  
4 cups powdered sugar

COATING

1 (12-ounce) package (2 cups) semi-sweet chocolate chips
2 tablespoons shortening

Chocolate shavings, chocolate sprinkles or decorator sprinkles, as desired

How to make

STEP 1
Combine butter and cream cheese in bowl. Beat at medium speed, scraping bowl often, until smooth. Add vanilla; continue beating until well mixed. Beat at low speed, gradually adding powdered sugar, until well mixed. (If mixture is too soft, cover and refrigerate 1 hour or until firm enough to form balls.)
STEP 2
Shape rounded teaspoonfuls of mixture into 1-inch balls. Place onto waxed paper-lined baking sheets. Cover loosely; refrigerate 2 hours or overnight until firm.
STEP 3
Melt chocolate chips and shortening in 1-quart saucepan over low heat, stirring constantly, 3-4 minutes or until smooth. Dip buttercreams into chocolate mixture using fork to turn and remove; let excess chocolate drip off. Place onto waxed paper-lined baking sheet.Garnish with chocolate shavings, chocolate sprinkles and decorator sprinkles as desired. Refrigerate at least 30 minutes to set.

Click here to view the original post

TWIX COOKIES

  If your favorite candy bar is a Twix then you are going to love these shortbread TWIX Cookies! 


INGREDIENTS

1½ cups softened butter
1 cup powdered sugar
3 cups flour
1 teaspoon vanilla
¼ teaspoon salt
15 oz caramel **See notes
2 cups milk choc chips
2 tsp shortening

INSTRUCTIONS

Preheat oven to 350 degrees
Cream butter and sugar together. Add your vanilla, flour and salt. Mix well.
On a lightly floured surface, roll dough out to ½ inch thick.
To cut cookies you can use a biscuit cutter or I just used a small glass that was 2 inches wide.
Place round cookies on a lightly greased cookie sheet.
Bake at 350 for 14-16 minutes.
Let cookies cool.
Melt caramel and spread the caramel over the cooled cookies.
Let caramel cool completely.
Add your shortening into the chocolate chips and melt in the microwave. Use a microwave safe bowl and watch so that the chocolate does not burn.
Spread melted chocolate over cooled caramel.
Let chocolate set before serving.
Do not put in the refrigerator as it will discolor the chocolate.
NOTES
I use Peter's caramel which comes in a 5 lb block. You can just cut off what you need, melt it and it's ready to go. If you use the Kraft caramels, follow the instructions on the bag for melting.

Berry Charlottes

Finally, inspired by Valentine’s Day coming up and the fresh berries at the store, I decided it was time to get over my anxieties and just go for it.  I am so, so glad I did.  These individual desserts were lovely, light and refreshing.  It turns out homemade lady fingers are worlds better than the purchased variety.  (Though, don’t forget the step of sprinkling powdered sugar on them before baking!  They look much prettier than without the sugar.)  I am really excited to try more varieties of charlottes when other fruits are in season.  I think they would be an ideal Valentine’s Day dessert, but even more they call to mind an elegant bridal or baby shower.

On a related note, I must say how thrilled I am that my son is learning phrases like “ladyfingers”, “blackberry mousse” and “raspberry mousse”.  I have a very sophisticated two year old :)  He loved everything about these, the mousse in particular.  And I loved watching him enjoy it!


Ingredients:

For the ladyfingers:
3 large eggs, separated
½ cup confectioners’ sugar, sifted, plus more for sprinkling
1/3 cup granulated sugar
½ cup all-purpose flour

For the blackberry mousse:
½ cup strained blackberry puree
2 tsp. granulated sugar
½ tsp. gelatin
1½ tsp. cold water
½ cup heavy cream

For the raspberry mousse:
½ cup strained raspberry puree
2 tsp. granulated sugar
½ tsp. gelatin
1½ tsp. cold water
½ cup heavy cream

Fresh berries, for serving

Directions:

To make the lady fingers, place the egg whites in the bowl of an electric mixer fitted with the whisk attachment.  Beat on medium-high speed until foamy.  Gradually add the sifted confectioners’ sugar, and continue whipping the egg whites until a stiff, glossy meringue forms.  Transfer the meringue mixture to a medium mixing bowl.  In the empty mixer bowl, now fitted with the flat beater, combine the egg yolks and granulated sugar.  Beat on medium speed until thick and pale yellow.  With a spatula, fold the egg yolk mixture into the meringue until smooth and blended, taking care not to deflate the egg whites.  Gently fold in the flour until no streaks remain.

Tuesday, November 28, 2017

Peppermint Gooey Butter Cookies {from scratch!}

Melt-in-your-mouth Peppermint Gooey Butter Cookies at their finest and from scratch. Buttery, light and tender-crumbed, sweetened just right and full of classic peppermint candy cane flavor. Each nibble brings back fond memories of Christmas holidays past. And you just cannot have one—in fact, they’re one of Santa’s favorite cookies! Included is a scrumptious and irresistible gluten free variation. Everyone will love these festive pink and red peppermint sprinkled cookies with a red center. They taste just like Christmas!


Buttery, light and tender, sweetened just right and full of classic peppermint candy cane flavor with a red center. Each nibble brings back fond memories of Christmas holidays past. They taste just like Christmas!

Ingredients

2½ cups (300 grams) pure organic unbleached all-purpose flour, such as Hodgson Mill®
2 teaspoons (about 8 grams) baking powder
1 (8-ounce/226-gram) package organic cream cheese, such as Organic Valley®, softened
½ cup (1 stick/113 grams) organic grass-fed unsalted butter, softened
1½ cups (300 grams) organic granulated cane sugar
2½ teaspoons (12.5 ml) pure vanilla extract
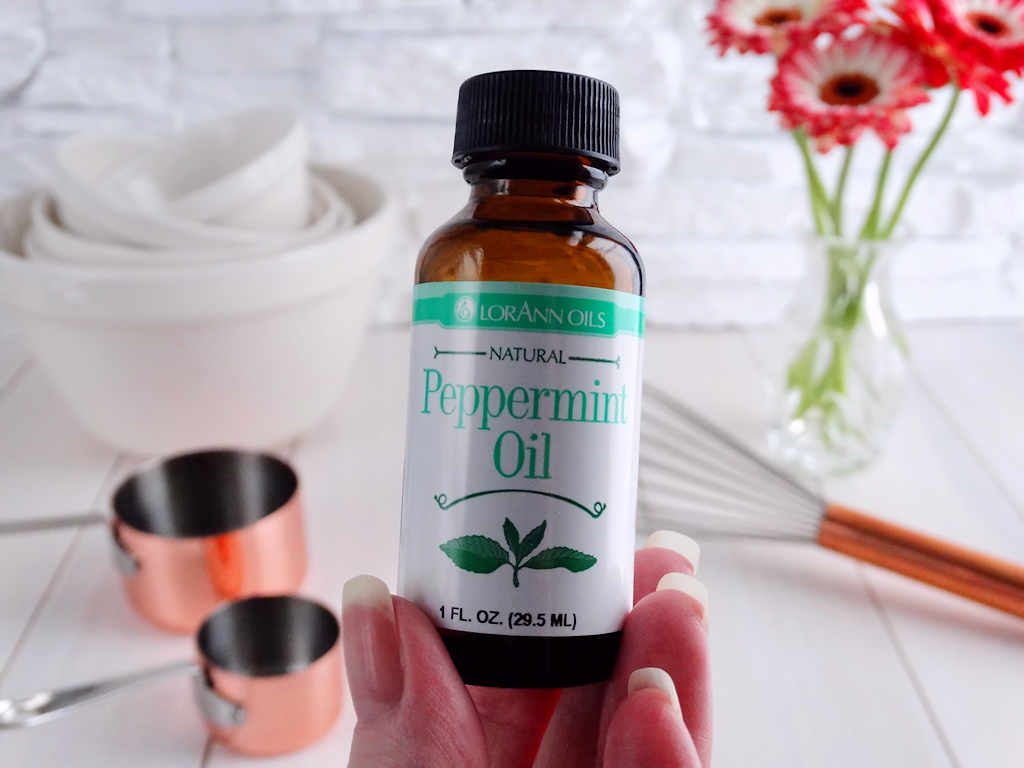
¼ teaspoon (1.25 ml) fine-quality pure peppermint oil, such as LorAnn Oils®
½ teaspoon fine-grain sea salt
1 large organic egg plus 1 large egg yolk (mine weighed 73 grams w/o shells)
1½ cups (180 grams) organic confectioners’ sugar, sifted, for rolling & dusting cookies
Red, pink or even green gel-based (paste) food coloring, kosher, natural or conventional
Crushed red and white peppermint candies or candy canes, for sprinkling & dusting cookies, sifted to yield small shards of candy and peppermint dust
Special Equipment
Fine-mesh sieve, such as Norpro 2135 Stainless Strainer, 5-Inch, White, to sift crushed candies
Small spring-loaded cookie scoop, such as Norpro 675 Scoop 5MM (1.5 teaspoon), helpful but not necessary
Regular (1 1/3-inch) spring-loaded cookie scoop, such as Norpro One Size Scoop (1.5 tablespoon), helpful but not necessary

Directions

In a medium bowl, whisk together flour and baking powder until well blended. Set aside.
Using an electric stand mixer fitted with paddle attachment, or handheld electric mixer, cream together cream cheese and butter until well blended, creamy and smooth. Beat in sugar, vanilla, peppermint oil and salt; mix until well combined and light and fluffy, scraping the bowl with a rubber spatula when necessary. Add egg and egg yolk and beat in well until creamy and light, about 2 minutes on medium speed. Do not skimp on this important step as it develops the structure of the cookies.
On low speed, gradually add flour mixture and mix until just fully incorporated. Dough will be very sticky. Using a rubber spatula, remove about one-quarter of the dough and transfer to a separate bowl. Tint the dough as desired with food coloring taking care to blend thoroughly for even color. Cover work bowls and refrigerate for several hours or preferably overnight.
Meanwhile, arrange oven rack in lower third of oven and preheat oven to 325ºF. Line two baking sheets with parchment paper; set aside. Place confectioners’ sugar in a small bowl; set aside.
Measure enough un-tinted dough to roll into generous 1-inch balls, using a 1 1/3-inch spring-loaded cookie scoop (or by measuring a generous tablespoon of dough with a measuring spoon) making sure each scoopful is in equal amounts. This is important for evenly baked cookies.
Roll dough between palms of hands to achieve a small rounded ball. Using thumb, create a depression in each ball of dough thumbprint-style. Then, using fingers create a somewhat larger depression to hold the scoop of tinted dough.
Working quickly while the dough is chilled and firm, use a small (1.5 teaspoon) spring-loaded cookie scoop (or by measuring a small teaspoon of dough with a measuring spoon) making sure each scoopful of tinted dough is in equal amounts. Once again, this is important for evenly baked cookies. Without rolling the dough between palms of hands, release the tinted dough from the cookie scoop into the un-tinted dough ball with thumbprint depression.
Using fingers, smooth the un-tinted dough over the tinted dough to enclose and, if necessary add a small pinch of un-tinted dough to pinch and seal closed. Quickly, roll and shape into a ball. This will also eliminate any air pockets. Alternatively, the two balls of dough, tinted and un-tinted, can be rolled together into a ball shape to create a swirled cookie rather than a stuffed cookie. Roll in confectioners’ sugar to coat. Place dough balls on prepared baking sheets at least 2 inches apart.
Hands will get coated with this rather sticky dough. Washing hands after shaping every 4 to 6 cookies is recommended for best results in appearance.
Bake in preheated oven until cookies have spread into round cookie shapes and are puffed and crackly, about 14 to 16 minutes depending on size. Do not overbake. The cookies will still be soft in the centers. If they start to brown around the edges, they have baked too long. The underside of the cookies should be only very lightly browned.
Transfer baking sheet to wire rack and allow cookies to cool on baking sheet for at least 10 minutes. However, while cookies are still warm form the oven, carefully sprinkle on small shards of peppermint candy cane and use the end of a toothpick to gently depress each shard into the crackle area of the cookies to ensure they adhere. Then, sprinkle the snowy powdered sugar areas of the cookies with superfine (sifted) peppermint candy cane dust.
Then, carefully remove cookies from baking sheet using a thin metal cookie spatula and transfer to wire rack to cool completely. Once completely cooled, transfer cookies to an airtight container. Repeat with remaining dough on prepared cookie sheets.
If desired, chill the cookies in the refrigerator in an airtight container. Before serving, dust cookies lightly with additional peppermint candy cane dust. Serve cookies chilled or at room temperature.

Wednesday, November 22, 2017

Easy Oreo Truffles

Super Easy No Bake Oreo Truffles made with only 4 ingredients. Made both ways with white chocolate and dark chocolate! These Oreo Truffles are super addicting!


Recipe at the bottom


Super Easy No Bake Oreo Truffles made with only 4 ingredients. Made both ways with white chocolate and dark chocolate! These Oreo Truffles are super addicting!

INGREDIENTS

1 (14.3 ounce) package Oreos
8 ounces cream cheese, softened
2 cups chocolate chips (I did half white chocolate chips and half semi sweet chocolate chips)
2 tablespoons coconut oil
1 Add Oreo's to a food processor and crumble, (If you do not have a food processor you can place them in a ziplock bag and crush them with a rolling pin or mallet.)

INSTRUCTIONS

2 . Reserve ¼ cup cookie crumbs for topping the truffles.

3 . Add the cookie crumbs to a large bowl along with the cream cheese. Mix with a spatula until combined. (This takes some elbow grease and a couple of minutes to combine.)

4 . Shape into about 30 balls and place on a baking sheet lined with parchment paper.

5 . Place in the refrigerator for an hour to set.

6 . Add chocolate to a microwave safe bowl along with the coconut oil. Microwave in 15 second intervals and stir often until the chocolate is fully melted.

7 . Take the balls out of the fridge and dip one at a time into the melted chocolate.

8 . Place back onto the baking sheet lined with parchment paper.

9 . Sprinkle with cookie crumbs.

10 . Place back in the refrigerator for 1 hour to firm up.

11 . Once set serve and enjoy!