Melt-in-your-mouth Peppermint Gooey Butter Cookies at their finest and from scratch. Buttery, light and tender-crumbed, sweetened just right and full of classic peppermint candy cane flavor. Each nibble brings back fond memories of Christmas holidays past. And you just cannot have one—in fact, they’re one of Santa’s favorite cookies! Included is a scrumptious and irresistible gluten free variation. Everyone will love these festive pink and red peppermint sprinkled cookies with a red center. They taste just like Christmas!
Buttery, light and tender, sweetened just right and full of classic peppermint candy cane flavor with a red center. Each nibble brings back fond memories of Christmas holidays past. They taste just like Christmas!
Ingredients
2½ cups (300 grams) pure organic unbleached all-purpose flour, such as Hodgson Mill®
2 teaspoons (about 8 grams) baking powder
1 (8-ounce/226-gram) package organic cream cheese, such as Organic Valley®, softened
½ cup (1 stick/113 grams) organic grass-fed unsalted butter, softened
1½ cups (300 grams) organic granulated cane sugar
2½ teaspoons (12.5 ml) pure vanilla extract
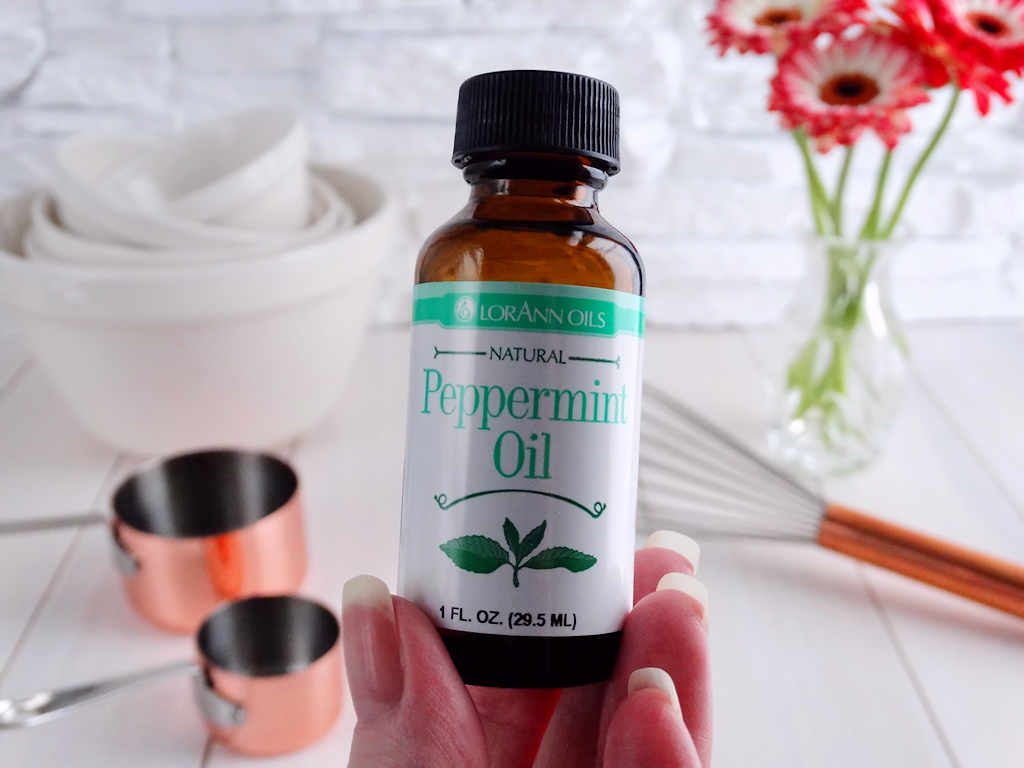
¼ teaspoon (1.25 ml) fine-quality pure peppermint oil, such as LorAnn Oils®
½ teaspoon fine-grain sea salt
1 large organic egg plus 1 large egg yolk (mine weighed 73 grams w/o shells)
1½ cups (180 grams) organic confectioners’ sugar, sifted, for rolling & dusting cookies
Red, pink or even green gel-based (paste) food coloring, kosher, natural or conventional
Crushed red and white peppermint candies or candy canes, for sprinkling & dusting cookies, sifted to yield small shards of candy and peppermint dust
Special Equipment
Fine-mesh sieve, such as Norpro 2135 Stainless Strainer, 5-Inch, White, to sift crushed candies
Small spring-loaded cookie scoop, such as Norpro 675 Scoop 5MM (1.5 teaspoon), helpful but not necessary
Regular (1 1/3-inch) spring-loaded cookie scoop, such as Norpro One Size Scoop (1.5 tablespoon), helpful but not necessary
Directions
In a medium bowl, whisk together flour and baking powder until well blended. Set aside.
Using an electric stand mixer fitted with paddle attachment, or handheld electric mixer, cream together cream cheese and butter until well blended, creamy and smooth. Beat in sugar, vanilla, peppermint oil and salt; mix until well combined and light and fluffy, scraping the bowl with a rubber spatula when necessary. Add egg and egg yolk and beat in well until creamy and light, about 2 minutes on medium speed. Do not skimp on this important step as it develops the structure of the cookies.
On low speed, gradually add flour mixture and mix until just fully incorporated. Dough will be very sticky. Using a rubber spatula, remove about one-quarter of the dough and transfer to a separate bowl. Tint the dough as desired with food coloring taking care to blend thoroughly for even color. Cover work bowls and refrigerate for several hours or preferably overnight.
Meanwhile, arrange oven rack in lower third of oven and preheat oven to 325ºF. Line two baking sheets with parchment paper; set aside. Place confectioners’ sugar in a small bowl; set aside.
Measure enough un-tinted dough to roll into generous 1-inch balls, using a 1 1/3-inch spring-loaded cookie scoop (or by measuring a generous tablespoon of dough with a measuring spoon) making sure each scoopful is in equal amounts. This is important for evenly baked cookies.
Roll dough between palms of hands to achieve a small rounded ball. Using thumb, create a depression in each ball of dough thumbprint-style. Then, using fingers create a somewhat larger depression to hold the scoop of tinted dough.
Working quickly while the dough is chilled and firm, use a small (1.5 teaspoon) spring-loaded cookie scoop (or by measuring a small teaspoon of dough with a measuring spoon) making sure each scoopful of tinted dough is in equal amounts. Once again, this is important for evenly baked cookies. Without rolling the dough between palms of hands, release the tinted dough from the cookie scoop into the un-tinted dough ball with thumbprint depression.
Using fingers, smooth the un-tinted dough over the tinted dough to enclose and, if necessary add a small pinch of un-tinted dough to pinch and seal closed. Quickly, roll and shape into a ball. This will also eliminate any air pockets. Alternatively, the two balls of dough, tinted and un-tinted, can be rolled together into a ball shape to create a swirled cookie rather than a stuffed cookie. Roll in confectioners’ sugar to coat. Place dough balls on prepared baking sheets at least 2 inches apart.
Hands will get coated with this rather sticky dough. Washing hands after shaping every 4 to 6 cookies is recommended for best results in appearance.
Bake in preheated oven until cookies have spread into round cookie shapes and are puffed and crackly, about 14 to 16 minutes depending on size. Do not overbake. The cookies will still be soft in the centers. If they start to brown around the edges, they have baked too long. The underside of the cookies should be only very lightly browned.
Transfer baking sheet to wire rack and allow cookies to cool on baking sheet for at least 10 minutes. However, while cookies are still warm form the oven, carefully sprinkle on small shards of peppermint candy cane and use the end of a toothpick to gently depress each shard into the crackle area of the cookies to ensure they adhere. Then, sprinkle the snowy powdered sugar areas of the cookies with superfine (sifted) peppermint candy cane dust.
Then, carefully remove cookies from baking sheet using a thin metal cookie spatula and transfer to wire rack to cool completely. Once completely cooled, transfer cookies to an airtight container. Repeat with remaining dough on prepared cookie sheets.
If desired, chill the cookies in the refrigerator in an airtight container. Before serving, dust cookies lightly with additional peppermint candy cane dust. Serve cookies chilled or at room temperature.
Peppermint Gooey Butter Cookies {from scratch!}
4/
5
Oleh
Agus sudrajat


